Hey guys,
I just wanted to pop in and post a few photos from a live paint I did at a local Club called "The Jam" here in Gainesville, FL. It was a lot of fun and I will be there again next Tuesday night. (10pm-2am)
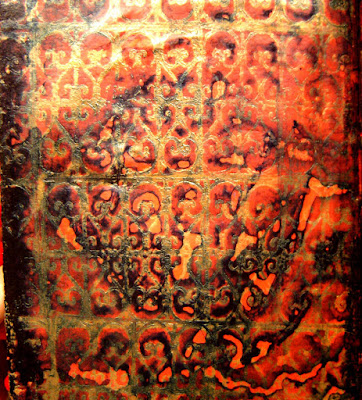
Here's a peek at the piece in sunlight. It's not quite finished, but close. :)
BTW, I wanted to tell all of my blog readers that I'm sorry I don't post here much anymore. I have been using Facebook as my main means of communication lately because I can easily post photos and updates with my phone and I have yet been able to figure out how to do that with Blogger. So If you'd like all of the latest photos of my work and info about what I'm up too please subscribe to my Facebook page: www.facebook.com/sarah.whitmire.77
Love you!
XO
Sarah
Whitmire Art
Welcome to the studio of mixed-media artist Sarah Whitmire.
Friday, July 19, 2013
Friday, May 11, 2012
I Painted the 34th Street Wall!
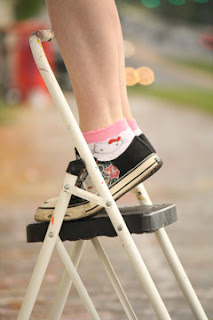 I wanted to do something a little crazy for my 32nd birthday. Inspired by this month's issue of Juxtapoz (May 2012), I decided to paint my first ever street art mural. This would become my first mural, my first public art, my first street art, and I knew the perfect place to do it.
You see, there's a special wall in Gainesville called the 34th St Wall; it's pretty famous around here, and even has a Wikipedia page: http://en.wikipedia.org/wiki/34th_Street_Wall
The magic of the 34th St Wall is that painting it is accepted! Graffiti, graduation announcements, fraternities, proposals, all kinds of painting are allowed on this wall! It's an unwritten law in Gainesville that, in this spot, residents can express themselves without fear of punishment.
While the majority of the paint on the wall (the layers are several inches thick) is in the form of congratulations, tagging, and other graffiti, I decided to paint a mural. I started on May 2nd, the day after my birthday, and planned to work until May 3rd; two full days of painting! But as most things go, I ended up taking four days in total to finish this project.
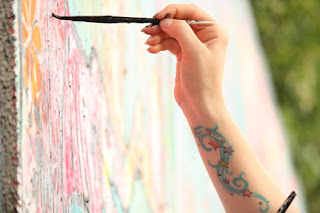
One reason it took four days is that I had no idea how exhausting it would be! May is not necessarily the ideal month to paint outdoors in Florida. And I learned on day one that the middle of the day was not a good time to paint. The heat added to the exhaust of the continual traffic passing by...1:30PM-4:30PM was out. So I got up as early as possible and set out to paint as much as I could by the time it got to be too hot. Then, after a quick siesta, I would be back to paint until sundown. Long days, but SO FUN!
I met some interesting people over those four days, including one professional and several amateur photographers who have made it their continuing project to record what is painted on the wall. Others just stopped to look and make encouraging remarks. Still others shouted from their cars or honked as they drove by...though not all the shouts were pleasant! :)
The entire experience was extremely rewarding and educational. I had no idea what I was going to paint when I arrived, the whole mural was completely intuitive. By the evening of the first day, I realized that we should be filming! So we did. Please enjoy the pictures and video below.
Here's the sign I posted below the mural. The wall being what it is, I know that my mural will soon be covered by taggers and others who want the space. I thought maybe the signs would buy me some time :) I hope you enjoyed seeing the pictures and the video, and if you live in the Gainesville area, swing by and have a look!
XOXO
Sarah
Tuesday, March 20, 2012
I'm in "The Pulse of Mixed Media"!
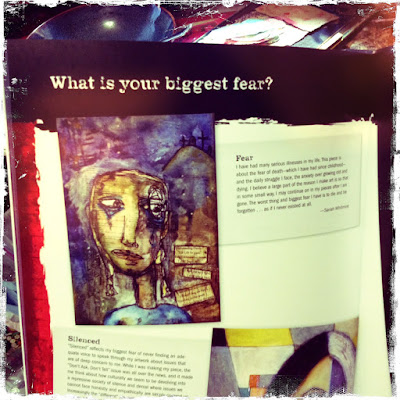
I'm excited to be in Seth Apter's new book "The Pulse of Mixed-Media: Secrets and Passions of 100 Artists Revealed." published by North Light Books. In it, I share a painting based on my "biggest fear" and also answer a few other secret questions like, "How has the Internet changed my artistic practice?", and "Have I ever received artwork from others and reworked it as my own?"... You'll have to read the book to find out! ;)

A sneak peek at my biggest fear...
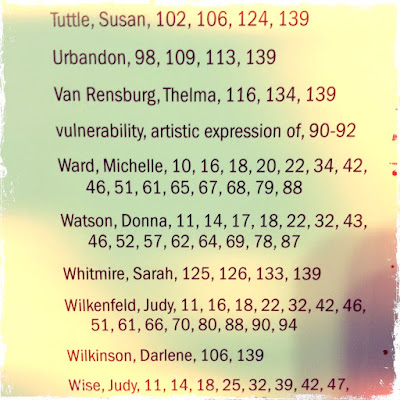
Hope you guys get a chance to check it out. :) It can be found at all of the major booksellers. Here's the link to Amazon: http://www.amazon.com/Pulse-Mixed-Media-Passions-Revealed/dp/144031070X
Thanks again out there for all of your support. Without you all, I would never be able to follow my art dream.
XOX

A sneak peek at my biggest fear...


Hope you guys get a chance to check it out. :) It can be found at all of the major booksellers. Here's the link to Amazon: http://www.amazon.com/Pulse-Mixed-Media-Passions-Revealed/dp/144031070X
Thanks again out there for all of your support. Without you all, I would never be able to follow my art dream.
XOX
Wednesday, September 2, 2009
New Altered Matchboxes
Hey guys,
I am sorry I have been so lax in regards to updating this blog. I have so much going on right now with my wedding coming up and a few health problems that something has have had to give. Unfortunately, that means my blog and website are in serious need of some new art postings. Even though there hasn't been much activity here I assure you there is a lot of new juicy art in my studio right now. I just need to find the time to photograph and upload it all. :) So expect a huge influx of arty goodness after December. In the mean time, here are a few pieces I just finished to wet your appetite!
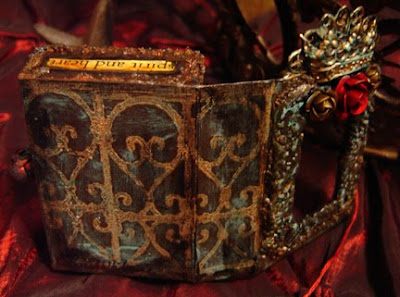
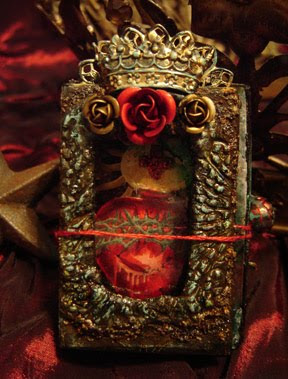
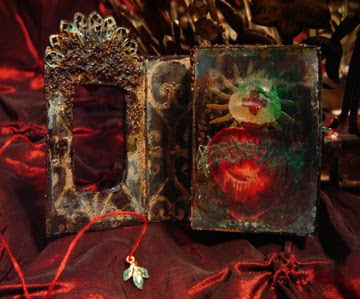
These are altered matchboxes in two sizes done with acrylic paints and mediums, mica, found objects and more. These were demo pieces for Alpha Stamps so the blank matchboxes, many of the metal embellishments and collage images can be found on their site. Enjoy!
"The Meaning of All"


Friday, July 17, 2009
Soul Journaling Prompt: Easy Backgrounds (part 1)!!!
For this prompt I’d like to share a few of my favorite backgrounds. Having multiple finished backgrounds done ahead of time is a great idea when journaling so that when you have the urge to write or draw or make a page, you can do so without worrying about having to prep you pages first. Making a bunch of backgrounds in your journal before you go on a trip can also be helpful for spontaneous art making and journaling. I always have 4 or 5 pages prepped and ready to journal on…more if it’s a long trip. :)
To start, I want to show you my most basic technique for priming a journal page and getting down a fast and easy background. This is the type of background I use all the time and is a great base for jumping off of with all your creative ideas!
Sarah’s must-have, easy-peasy basic background:
To start, glue down random ephemera onto your pages. Don’t use anything precious and do this in a fast haphazard manner. Ephemera can be pages torn out of old phonebooks, textbooks, dictionaries, sheet music, or any other papers you have lying around. This is a great way to use up small scraps of scrapbook paper and junk mail too. If you are using a thicker paged journal such as a watercolor book you don’t need to cover the entire page with ephemera. However, if you are using a thinner paged journal, take the extra time to cover all of your page to help reinforce it. Use any kind of glue you have handy to stick them down and don’t worry about them being perfectly flat. If they dry rippled it will just give you extra cool texture! ;)
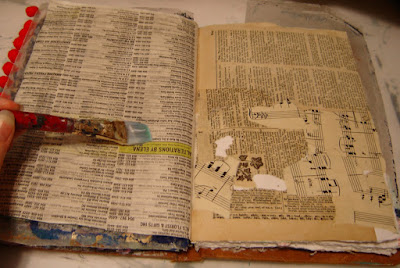
When your pages are dry, dry brush a coat of gesso on top. “Dry brush” means to use a light coat and a dry (no water) paint brush to apply your paint. The gesso will give a light tooth to your pages and is a fabulous primer to protect your papers from sloppy paints and messy work later on.
Tip: Pay special attention to the crease of your book, giving it a second coat of gesso for good measure.
Now choose 1-3 of your favorite mixable paints. For this, I chose green, blue and brown. They look nice separately and are fabulous when mixed together. If you are new to mixing paints try choosing a favorite color such as red and then using tints of red: made by adding black (or brown) and white to the red. This way you will have a red, pink, and deep red background. You can also experiment with color mixing and see what happens.
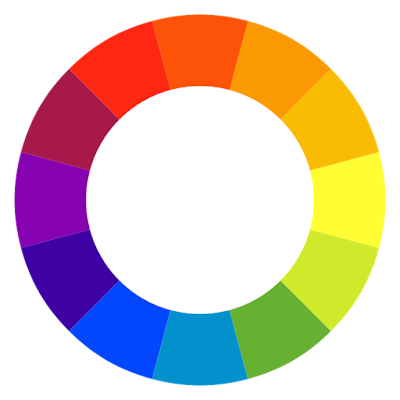
Tip: The more colors you mix, the better chance you have of getting a muddy brown color. When choosing colors from the opposite side of the color wheel to mix, such as purple and yellow, you will also get muddy brown. Instead, try colors next to each other on the wheel.
To start, I want to show you my most basic technique for priming a journal page and getting down a fast and easy background. This is the type of background I use all the time and is a great base for jumping off of with all your creative ideas!
Sarah’s must-have, easy-peasy basic background:
To start, glue down random ephemera onto your pages. Don’t use anything precious and do this in a fast haphazard manner. Ephemera can be pages torn out of old phonebooks, textbooks, dictionaries, sheet music, or any other papers you have lying around. This is a great way to use up small scraps of scrapbook paper and junk mail too. If you are using a thicker paged journal such as a watercolor book you don’t need to cover the entire page with ephemera. However, if you are using a thinner paged journal, take the extra time to cover all of your page to help reinforce it. Use any kind of glue you have handy to stick them down and don’t worry about them being perfectly flat. If they dry rippled it will just give you extra cool texture! ;)

When your pages are dry, dry brush a coat of gesso on top. “Dry brush” means to use a light coat and a dry (no water) paint brush to apply your paint. The gesso will give a light tooth to your pages and is a fabulous primer to protect your papers from sloppy paints and messy work later on.
Tip: Pay special attention to the crease of your book, giving it a second coat of gesso for good measure.
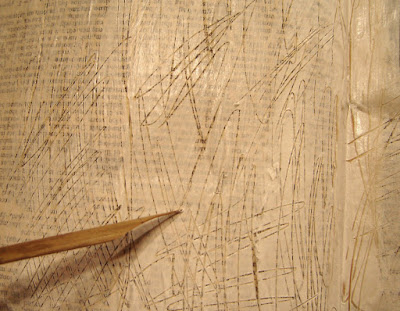
While still wet, draw or scratch into the gesso with the wrong end of your paintbrush or any other objects handy. Allow to dry fully. A hair dryer on low can also help speed up the drying process

Now choose 1-3 of your favorite mixable paints. For this, I chose green, blue and brown. They look nice separately and are fabulous when mixed together. If you are new to mixing paints try choosing a favorite color such as red and then using tints of red: made by adding black (or brown) and white to the red. This way you will have a red, pink, and deep red background. You can also experiment with color mixing and see what happens.
Tip: The more colors you mix, the better chance you have of getting a muddy brown color. When choosing colors from the opposite side of the color wheel to mix, such as purple and yellow, you will also get muddy brown. Instead, try colors next to each other on the wheel.
I added a dot of brown, blue, and green to different spots on my pages and then added water. I allowed them to mix and pool in random places.
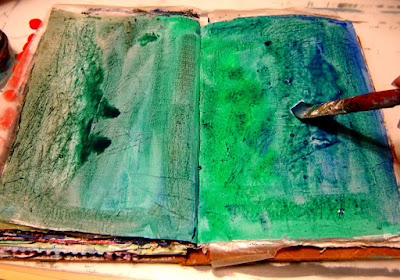
For extra pizzazz you can add a drop or two of interference paints with water. Here I have added interference blue, and though it is hard to see in the photos, in person it is very sparky and pretty. Allow this to dry fully and you’re all ready to add art to your new background! ;)
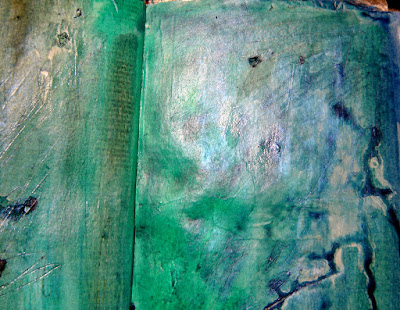

For extra pizzazz you can add a drop or two of interference paints with water. Here I have added interference blue, and though it is hard to see in the photos, in person it is very sparky and pretty. Allow this to dry fully and you’re all ready to add art to your new background! ;)

To get the free easy to print .pdf file of this and other new prompts join our inspiring Soul Journaling Community at: http://groups.yahoo.com/group/SoulJournaling/
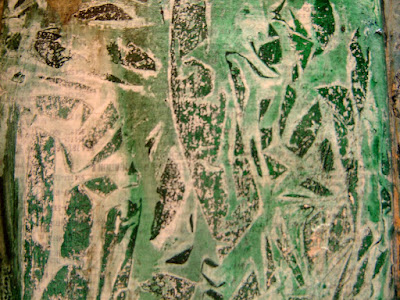
The following bonus backgrounds are also shown with instruction as part of the same easy to print file on our group. Come join the fun! :)

*SOUL HUGS*
Sarah
Subscribe to:
Comments (Atom)


